If you are new to growing seedlings, you might want the entire Seed Starting 101 series:
- Seed Starting 101: Key Components To Healthy Seedlings
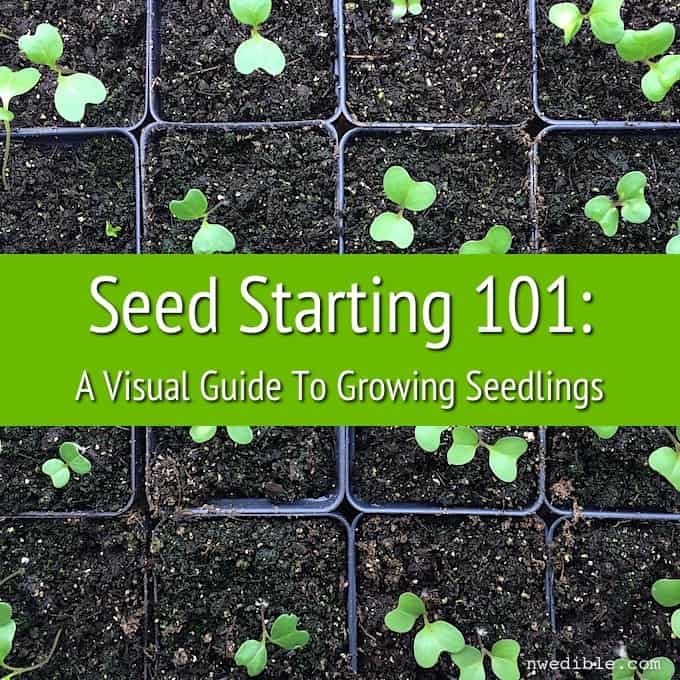
- Seed Starting 101: A Step-By-Step Visual Guide To Growing Seedlings At Home (this post)
- Seed Starting 101: Up-Potting
 New to starting seeds? You might want to start by reading yesterday’s post, Seed Starting 101: Key Components For Healthy Seedlings.
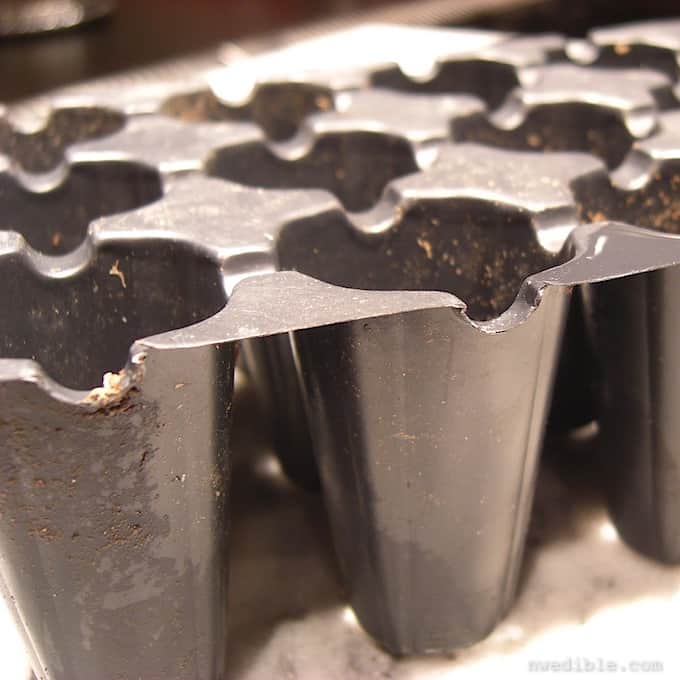
Here’s how I start my seeds, step-by-step and in pictures. The eagle-eyed among you may notice that I show pictures of both 4″ pots and small multi-cell containers. The process is the same no matter what size pot you are using or, indeed, if you are not using any pots at all, but instead use repurposed yogurt containers, old cans or fancy soil blocks.
The seedling-holding vessel doesn’t matter, I just had to work with the pictures I had.
Assemble Your Gear
You will need clean seed starting pots. I like to hose my pots out and give them a quick dip in a bleach bath in late winter to prepare them for their upcoming season of use.
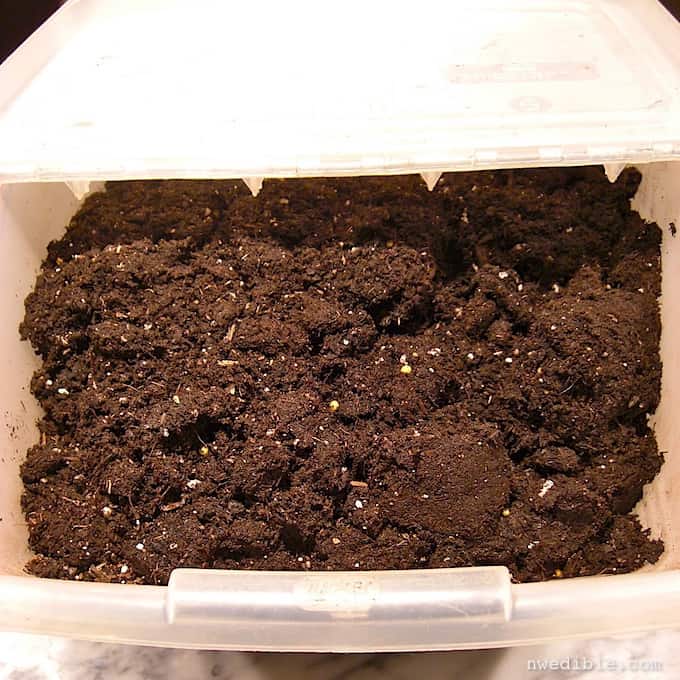
You will need adequately moistened planting mix. It is helpful to store your planting mix in a large plastic or rust-proof metal container.
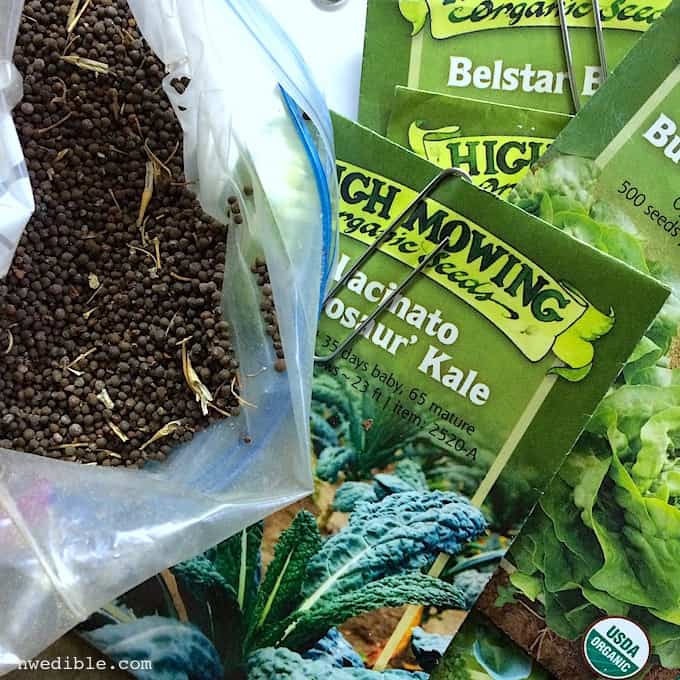
You will also need seeds. Duh.
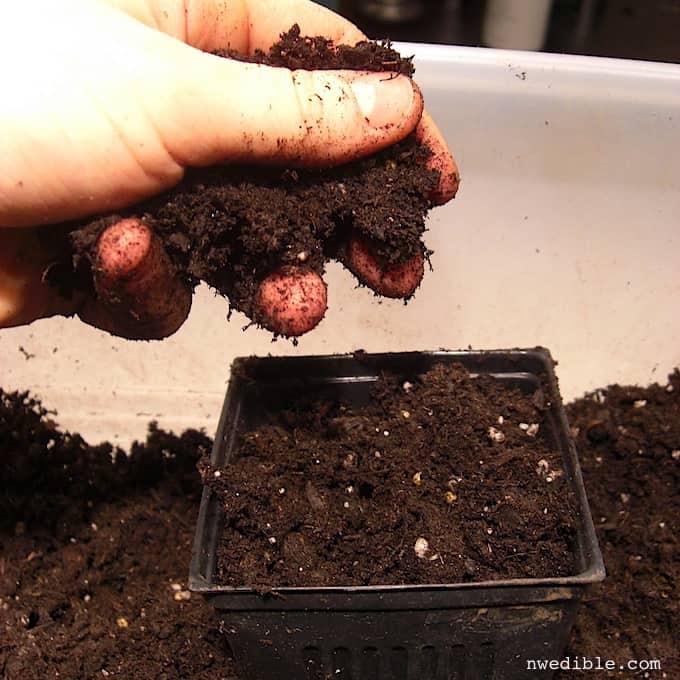
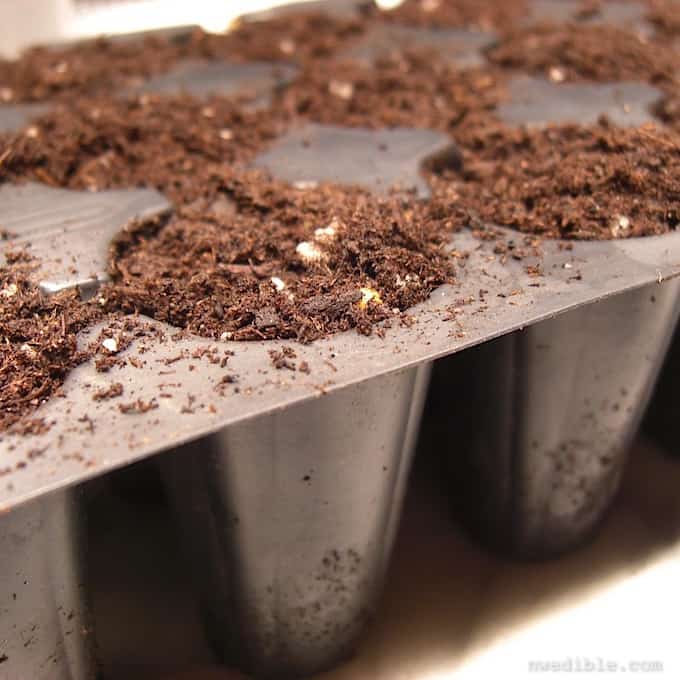
Loosely Fill your Pot with Planting Mix
I like to set my pot inside my large container of planting mix so when I inevitably slop planting mix everywhere, it just falls back into the container where it belongs. Fill the pot up, gently mounding it a bit. Do not pack or tamp down the soil, but do give your full pot a couple sharp taps on the counter (or ground or whatever) to settle the soil in place.
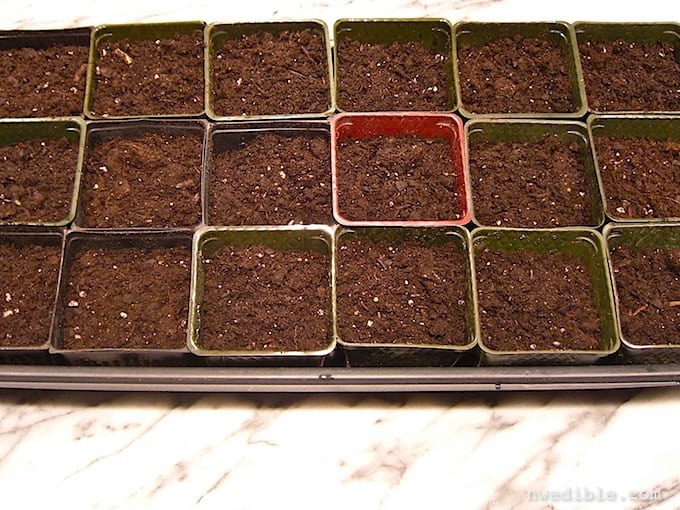
Fill Your Pots
Add Seeds!
Place 1-4 seeds in each pot (or cell). Try to get them towards the center but a little bit away from each other. This will make thinning easier later. I determine how many seeds to sow by thinking about the price of the seed, the germination rate and germination habits of the plant, and whether the plant is open pollinated (likely to have more plant-to-plant variation) or a hybrid (likely to have very little plant-to-plant variation).
Expensive seed, like $4.50 a packet imported hybrid cauliflower seed, should have near perfect uniformity and high germination and vigor. I would seed that very lightly, one or two seeds per pot, with an extra pot sown should one fail to grow. Open pollinated parsley, which is cheap, slow and not particularly reliable to germinate, I would sow more thickly.
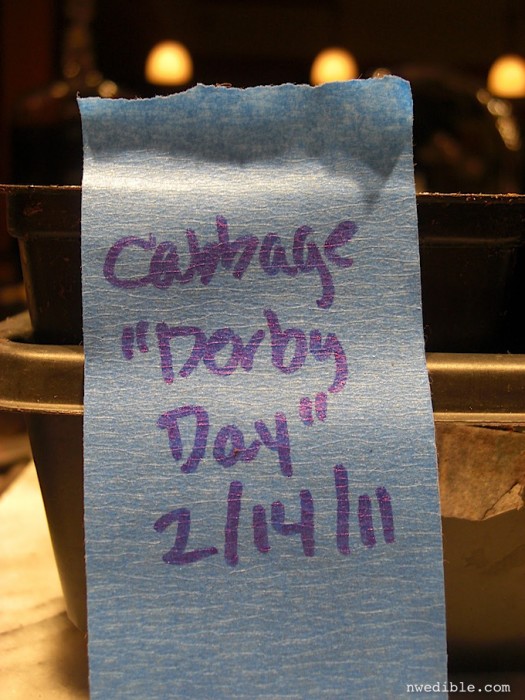
Label Your Plantings
This is really important. Even when you’ve been growing your own seedlings long enough to tell a squash seedling from a lettuce seedling (ok, that’s pretty easy…) if you don’t label you’ll still look at a flat of brassicas and ask yourself, “now which one was the brussels sprouts and which one was the broccoli again?”I just write the name of the plant on some masking tape and stick the tape to the pot.
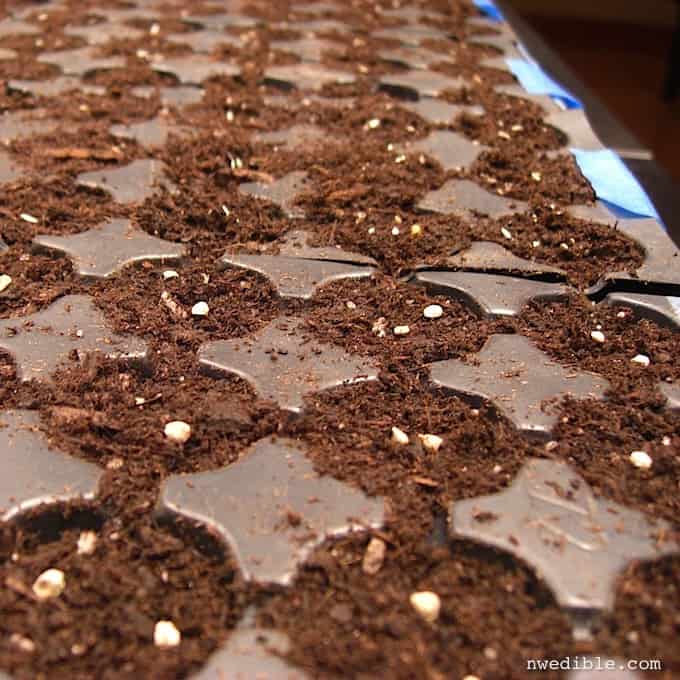
Cover Your Seeds With A Thin Layer of Soil
For big seeds, like squash and cucumber and artichoke, I push the seed into the soil with my pinkie finger up to the depth of my pinkie cuticle. If it’s a really big squash seed, like from one of the jumbo pumpkins or something, I might go a bit deeper. For the small seeds, like lettuce and brassica, I usually just sprinkle a fine layer of soil over the seeds.
Mist (Or Don’t) And Cover
If your soil was adequately moist to begin with, you shouldn’t need to actually water your seedlings, but you can lightly mist some water over the top to settle the seeds in. Just don’t get your potting mix too wet.
Then, cover your pots to create a high-humidity environment. I put plastic wrap over my seed trays, but propagation lids (little plastic seed tray covers) work well too. You can also stick your whole seed tray inside a large, clear plastic bag, like the kind that dry-cleaners wrap shirts in. As soon as you see a few seedlings poking up through the soil, remove the plastic.

Wait….
Give your seedlings a week or so to get up and growing. If you are using good seed and have given your plants lots of lights they will grow well for you.
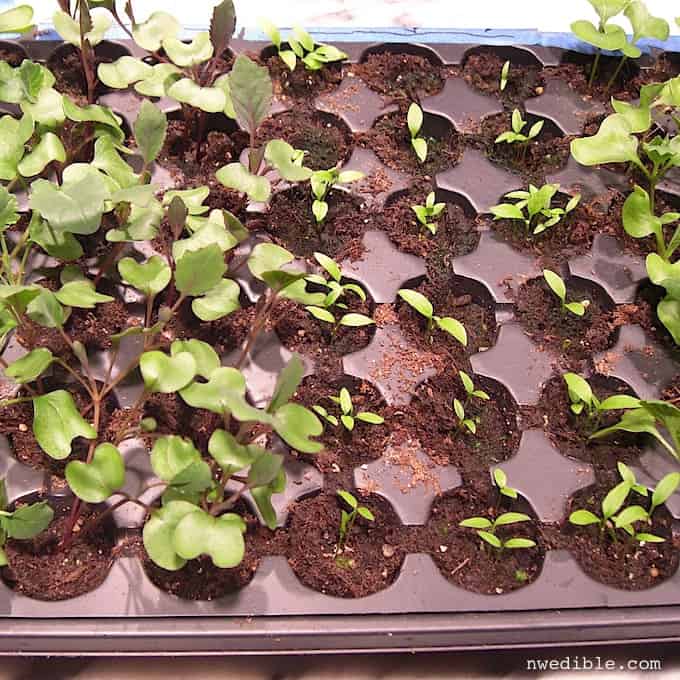
Thin Your Seedlings
This is absolutely critical. It took me years to get over my fear of taking scissors to my precious seedlings and voluntarily killing 50% or more of them. Try not to fall into the same trap.
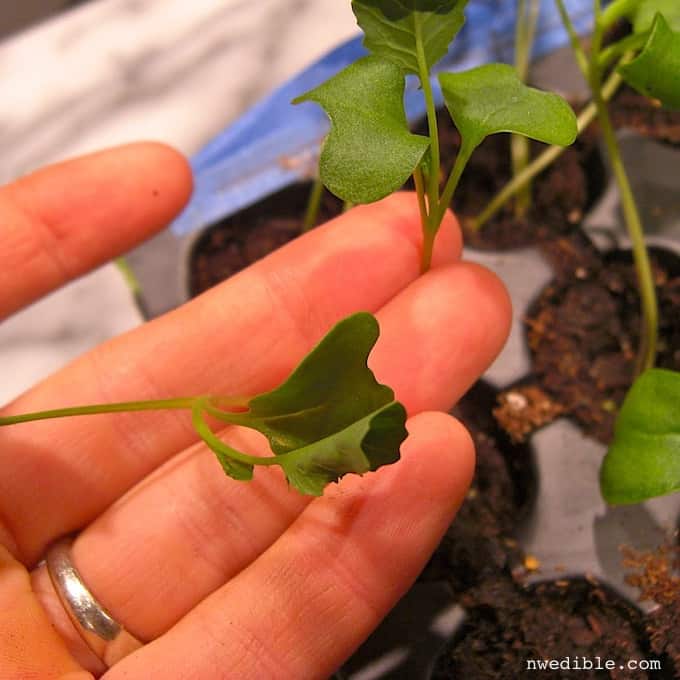
With very few exceptions (like green onion and leek seedlings, which are grown crowded on purpose), you will get much better, stronger, more productive plants if you don’t make them compete for light and nutrition. So grab your small scissors and repeat after me: one pot, one plant – one pot, one plant.
Take a look at your seedlings. Select the stockiest, strongest looking one per pot, and cut the others off at soil level. More details on thinning here. I save all the brassica thinnings and eat them as super-trendy microgreens. That makes me feel somewhat better about the plant decapitation.
From here, just return your plants to their home under lights, move them outside to begin hardening them off or up-pot them as appropriate.
I have been struggling with finding appropriate containers for seed raising. I gave up on those tiny containers that you buy seedlings in because they kept drying out and it was so difficult to remove the tiny seedlings and now use toilet paper rolls (which can be planted directly in the soil without damaging roots) and larger pots, which has been more successful! Great tip on the masking tape labels, I never know what the seedlings are when they come up, even though at sowing time I'm sure I'll remember. Also the plastic wrap is a new one for me, I think it would be too hot in summer, but good for cooler season seedlings, to stop them drying out. I don't worry so much about sterilisation of the pots and I start some seedlings in compost, it seems to work for me (also laziness). I'm a great believer that good microbes will out compete the bad ones, maybe that's just wishful thinking though!
Liz – You'll like this, then. 🙂 https://nwedible.com/2011/02/garbage-made-useful-homemade.html
I really appreciate this. Starting seeds is a big hole in my skill set. I’ve tried a few times, but I just never manage to have much success. I’ll try the plastic wrap this time around. Wish me luck!
The details you’re providing (in this article and the many others I’ve pored over today) are great.
One question (if you’re reading all your comments on old articles). In your ultra-cool regional planting list… ah, the NW Edible Year Round Planting Guide, you listed Red Russian and Chidori. But above you’ve got a pic of White Russian, and Territorial sells a White Russian and a Red Chidori. Typo, or some other source of kale seeds? (No, really, I’m not obsessively looking at ALL this amazing info you’ve put up, grateful to have found you now that I am newly in this area… no, no obsessing over veggies at all 😉 ).
Thanks!
That’s a great question, you should be an editor! There are a zillion kinds of kale. I think that “White Russian” was the pic up there because I just happened to have a picture of that seed packet. As I recall, Territorial used to sell boring old “Red Russian” kale, but it looks like they offer a strain called “Winter Red Kale” now….that’s a Red Russian by another name.
Kales all follow the same basic planting and needs requirements so whichever you pick you can treat in the same way. Red Russian and Chidori are in the planting guide (along with Nero Di Toscana, I hope) because I just like the edible/ornamental combo. Red Russian and White Russian taste basically the same, but Red Russian is prettier in the landscape, and Chidori is the prettiest yet (lower growing, shaped like a huge frisee) but doesn’t last as long and will set flower first. Nero Di Toscana is probably the best tasting of the bunch, and good looking too, in its more upright dark blue-green kind of way.
More helpful details! The things that I don’t know that I don’t know are so many…
Thank you for the primer on the flexibility of kale varieties. We love kale, and now it looks like we can play around with not too much risk of choosing something un-tasty.
I am working my way through your back catalog and I wish you had a “next” button. I am really enjoying the past posts, but they can be a little hard to get to.
this is a good website for plant propagation
Insert sound of needle scratching on the record here: “For the small seeds, like carrot …” What? My mind has just been officially blown. I had no idea you could start carrots indoors! Do you mean I might try this and actually have a successful carrot crop finally? All these years of gardening I thought that root veggies had to be sown in-ground only. ::smacking my head over my ignorance::
Thank you (yet again!) for the enlightenment, Erica!
Ack! No – I fear you were right initially and that’s just a very old typo that’s made it through 3 website re-designs and way too many reads. I’m so sorry. I’m quite sure I meant to type lettuce up there.
Carrots really will do better sown in ground. I’ve done ok starting beets indoors -it works, but they are a pain to transplant. But carrots are so sensitive to having their tap root messed with. I would only experiment with starting those Thumbelina type round carrots indoors. Or, if you want to pre-sprout your carrot seeds, THAT you can do inside to give the little guys a head-start.
Anyway, thank you for this comment – I would never have seen that error if you hadn’t pointed it out. I apologize for the initial mistake.
Aw, rats. I’m bummed and impressed equally….that you took the time to read a comment on an old post and that no, I can’t sow carrots indoors. They have been really difficult for me the last two years in my zone 5 inland garden. But we delight in the taste of a garden-fresh carrot so I will keep trying, trying, trying. Thank you so much for all your encouragement, Erica!