If you are new to growing seedlings, you might want the entire Seed Starting 101 series:
- Seed Starting 101: Key Components To Healthy Seedlings
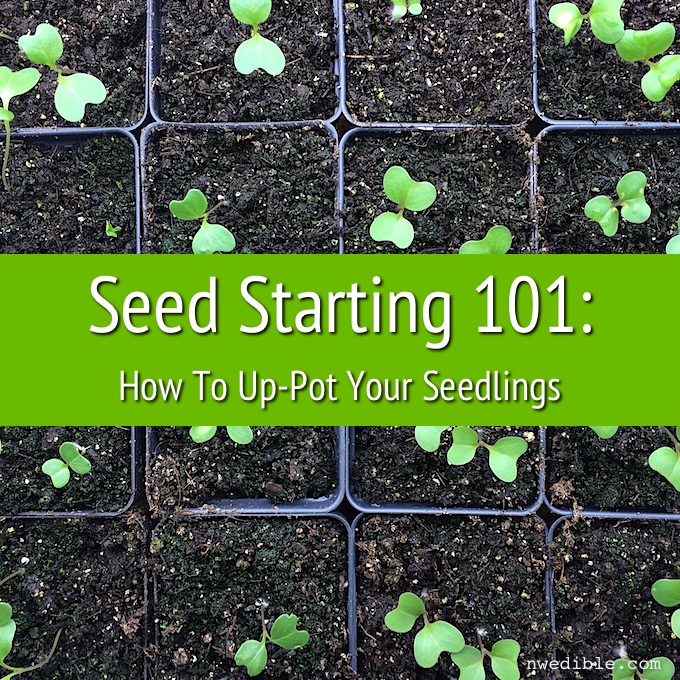
- Seed Starting 101: A Step-By-Step Visual Guide To Growing Seedlings At Home
- Seed Starting 101: Up-Potting (this post)
Occasionally your seedlings will outgrow their containers before you are ready to move them out to the garden. This happens when you have enthusiastically planted too early (I do that a lot) or warm weather has come too late (the Pacific Northwest does that a lot). When this happens you will need to up-pot (transplant to a larger container) your seedlings so their growth isn’t hampered.
Prepare For The Up-Pot
Anything to be transplanted should be watered several hours before transplant. A moist root ball will hold together much better than a dry one, and a good drink helps ensure the plant is fully hydrated, which will minimize the shock of transplant.
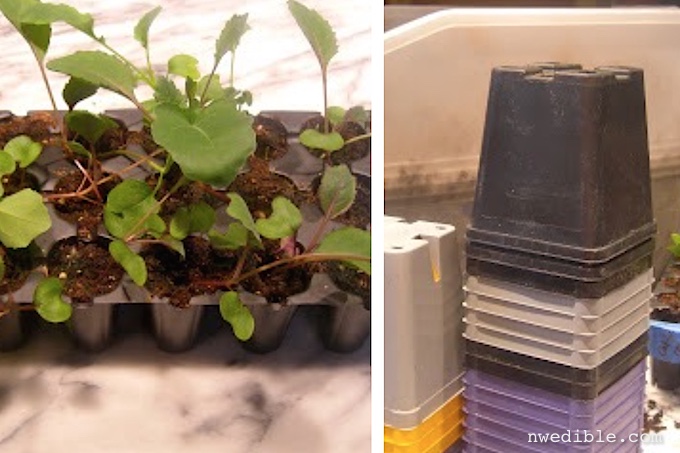
Here’s my flat of brassica seedlings. I started them about 3 weeks ago in small multi-cell seed trays (72 cells per tray, which is really quite small) and they’ve rapidly outgrown their space. This is why I don’t like to start brassicas in my small multi-cell trays! It’s time to up-pot them into 4″ pots. Here’s how I do it.
You will need your vegetable starts, larger containers into which you will up-pot them, and adequately moistened potting mix. See Seed Starting 101: Key Components To Healthy Seedlings for more information about what constitutes adequate moisture in your potting mix.
The Kindest Flip
The goal is to remove your first seedling from its container without killing or mangling it.
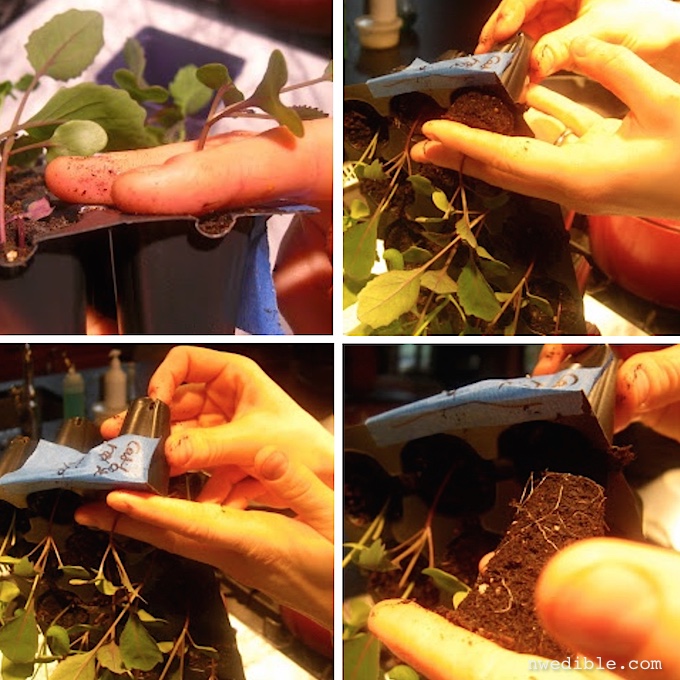
- Place a finger on either side of the stem of your seeding.
- Keeping the fingers of one hand gently around the stem of your seedling, hold your seed tray or pot in the opposite hand and invert.
- Gently squeeze the sides of the cell or pot, loosening the seedling’s rootball.
- The seedling should slide out. Continue to support the rootball and the stem of the seedling. If the rootball is particularly recalcitrant, you can gently tug on the seed leaves of the seedling to get it going. Don’t pull on the stem, it can easily break or pull away from the root ball which will kill your seedling.
Making The Move
Take a look at your seedling. Handle it very gently by the root ball. The root system should be visible in the potting mix and should be developed enough to hold the root ball together, but it should not yet take up most of the potting mix, or be so extensive as to wrap around the bottom of the root ball many times.
If the root mass is not yet developed enough to keep the root ball together, slip your seedling back into its original container and let it grow for another week or two. If the soil is almost entirely roots, your plant is likely root-bound and prone to rapid wilting. In this case you will need to gently tease the root mass into a looser, more open mass so that the roots will grow out into new soil instead of staying locked in a tight circle. Something in the middle is just right for transplanting.
Time to get your seedling snuggled into her news home. Don’t delay with this. You don’t want those gorgeous roots exposed to the open air for too long.
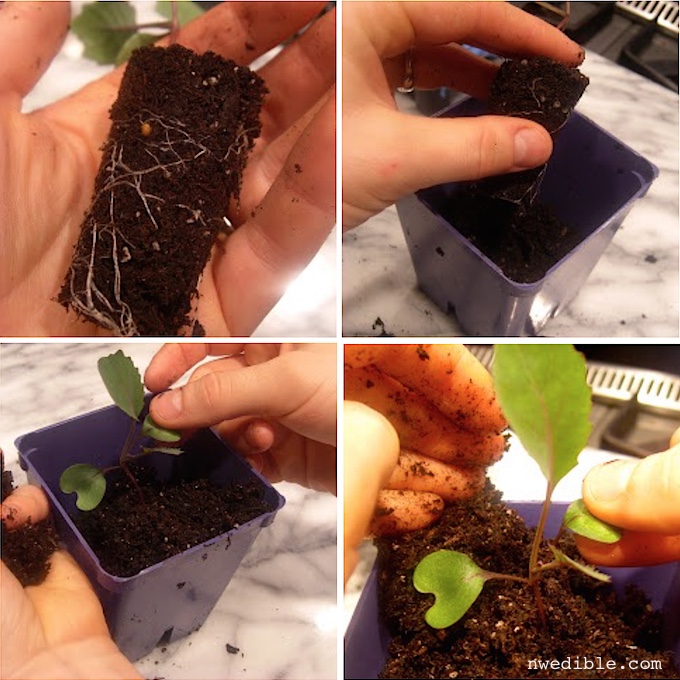
- Fill the pot about half-full with potting mix. Dimple the center with 2 fingers, to make a small indentation into which your seedling will sit. Nestle your seedling into the indentation into the potting mix.
- Hold the seedling steady by the seed leaf and scoop potting mix around one side of the root ball. Gently move the seedling stem out of the way, and fill the other side of the pot with potting mix.
- Continue to stabilize the seedling by holding the seed leaf and fill the pot with potting mix. With leggy brassicas, tomatoes, peppers and cucurbits (squashes and cucumbers) I bury the stem up to the seed leaves with potting mix while transplanting.
- Give the pot a good rap on the counter to settle the soil, or mist gently with water to settle the seedling into the pot. Top up with additional potting mix if necessary. Return your seedling to under lights, or begin to harden it off for a move to a cold frame, greenhouse or cloche. Remember that it will be a few more weeks before the roots will sufficiently fill the new soil to allow for transplant out to the garden.
Now repeat as necessary. When I’m up-poting quite a few seedlings, I go assembly-line style. I half-fill and dimple 8 or 10 pots at a time, then remove the seedlings from their cells one-by-one, placing them into their new pot as I go. Then I finish filling the pots with soil. In this way I can get through a lot of up-potting quickly. All done!
Sometimes Things Go Wrong
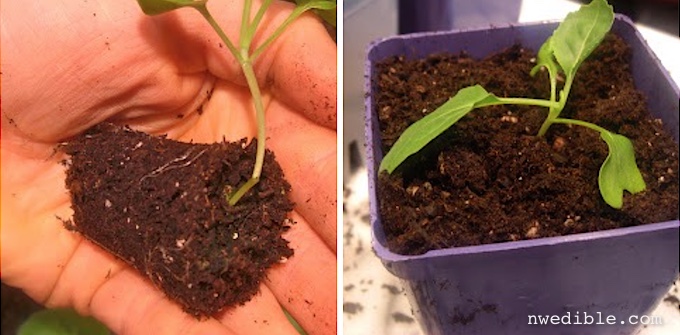
Despite your best efforts, sometimes a stem will break, as shown above on the left. When this happens, congratulate yourself for starting a few more seedlings than you really needed, and don’t beat yourself up as you compost the seedling. Don’t try to save the seedling, it’s really not worth it. In a case like this, I usually pull the potting mix away from the root ball and “recycle” it as fill for another pot.
Sometimes a leaf will break or tear as shown on above-right. If it’s a seed leaf, really don’t worry about it; those die off soon after true leaves get up and going anyway, so it’s no loss to the plant. If, as here, one of the plant’s true leaves has broken, the plant will almost certainly recover, but may grow a bit more slowly initially than his un-hurt brothers. In the end he will probably catch up, so keep or toss him based on how many starts you have, how many plants you want to transplant out to the garden, and how much room you have under lights for your seedlings.
Erica, dear, I knew you could answer my question 🙂
“Continue to stabilize the seedling by holding the seed leaf and fill the pot with potting mix. With leggy brassicas, tomatoes, peppers and cucurbits (squashes and cucumbers) I bury the stem up to the seed leaves with potting mix while transplanting.”
is exactly what I needed to know